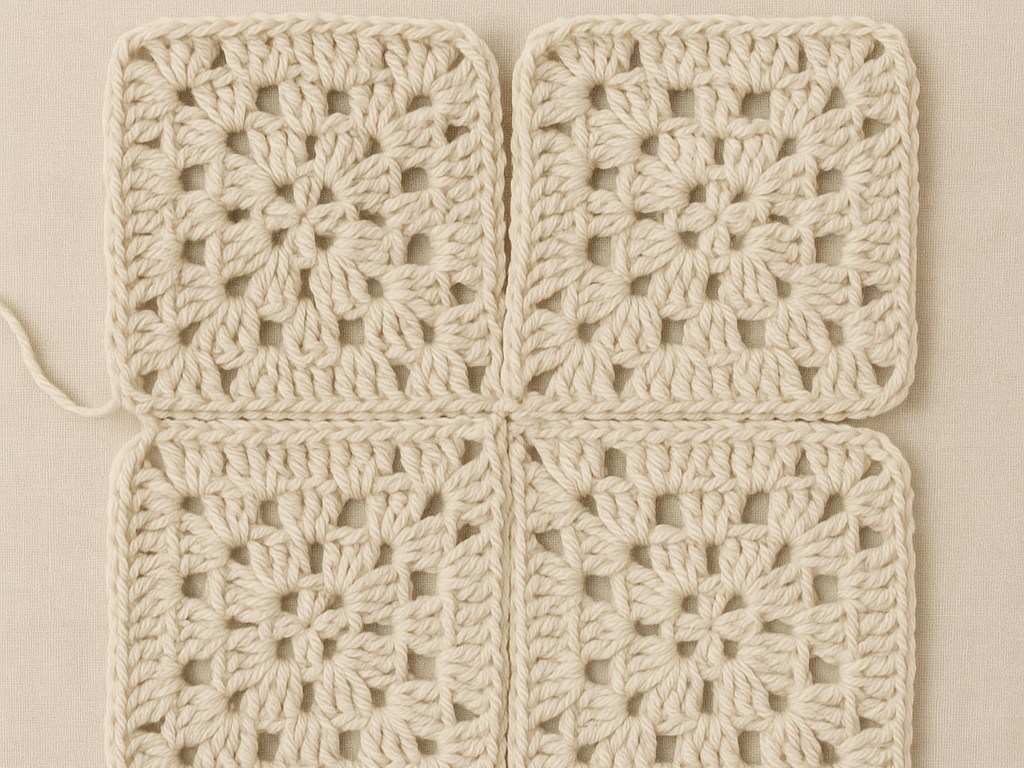
Joining Granny Squares – 5 Ways to Create Beautiful Transitions

Granny squares are true crochet all-rounders – perfect for blankets, jackets, bags, and accessories.
In my article on Modern Granny Squares, we explored how today's grannies go way beyond the classic look – geometric, bold, and full of personality.
Now let's focus on what happens next: How do you actually join them beautifully?
Let me show you five tried-and-true joining methods – from visible and textured to clean and invisible – that turn your stack of squares into a cohesive and creative piece.
1. 🔗 Slip Stitch Join (Visible)
A decorative join that creates a raised seam – great for contrast effects.
How to:
-
Place two granny squares wrong sides together
-
Insert hook through the inner loops of both edges
-
Work slip stitches along the seam
🧶 This creates a prominent ridge between the squares – perfect for design elements.
2. 🧵 Slip Stitch Join (Invisible)
Perfect for seamless transitions in tone-on-tone projects.
How to:
-
Place two granny squares right sides together
-
Insert hook through the outer loops of each stitch
-
Slip stitch across
🧶 The seam will almost disappear on the front side – sleek and subtle.
3. 🪡 Single Crochet Join
Flat but slightly textured – ideal when you want a bit of structure.
How to:
-
Place squares right sides together
-
Insert hook through both loops on each side
-
Work single crochet across
🧶 Strong and stable – great for blankets, cushions, or bags.
4. 🧷 Mattress Stitch (Sewing)
The go-to method for an almost invisible join – no hook needed!
How to:
-
Place squares side by side
-
Use a yarn needle to sew into the edge stitches alternately
-
Pull gently to close the gap
🧶 This method is flat, clean, and barely visible on the front.
5. 🧶 Modular Knitting Join
No sewing or crocheting afterward – the squares are joined as you go!
How to:
-
Start with one square
-
For the next, pick up stitches along the edge of the first square
-
Knit the second square directly attached to the first
🧶 This technique is popular in patchwork-style blankets and knitted layouts.
🧵 Recommended Materials
Cotton: great for dishcloths, summer items, or bags
-
Wool: warm and stretchy – perfect for garments and throws
-
Blends: for softness and durability
-
Recycled yarn: for eco-conscious projects
🎨 Creative Project Ideas with Granny Joins
Blankets: mix join styles for fun texture
-
Cardigans & vests: pair bold squares with sleek seams
-
Tote bags: use visible joins for added structure
-
Cushion covers: play with symmetry or surprise!
🧼 Care Tips
Washing: by hand or on gentle cycle at 30 °C
-
Drying: lay flat to avoid stretching
-
Storage: keep in a dry, clean place
✨ My Takeaway
Joining granny squares is more than just a technical step – it's a design choice.
Whether you go for bold borders or smooth transitions, the way you connect your squares can totally transform the look and feel of your project.
So get creative, try different joins, and don't forget: it's the in-between that holds everything together!
👋 Have a favorite joining method? Or curious to try something new?
Share your work in the Facebook Group or tag me on Instagram – I'd love to see your connected creativity!
#grannysquares #crochetjoins #diycrochet #modularknitting #strickenimtrend
Have a good day!
Yours,
Kathrin ☀️🧶
