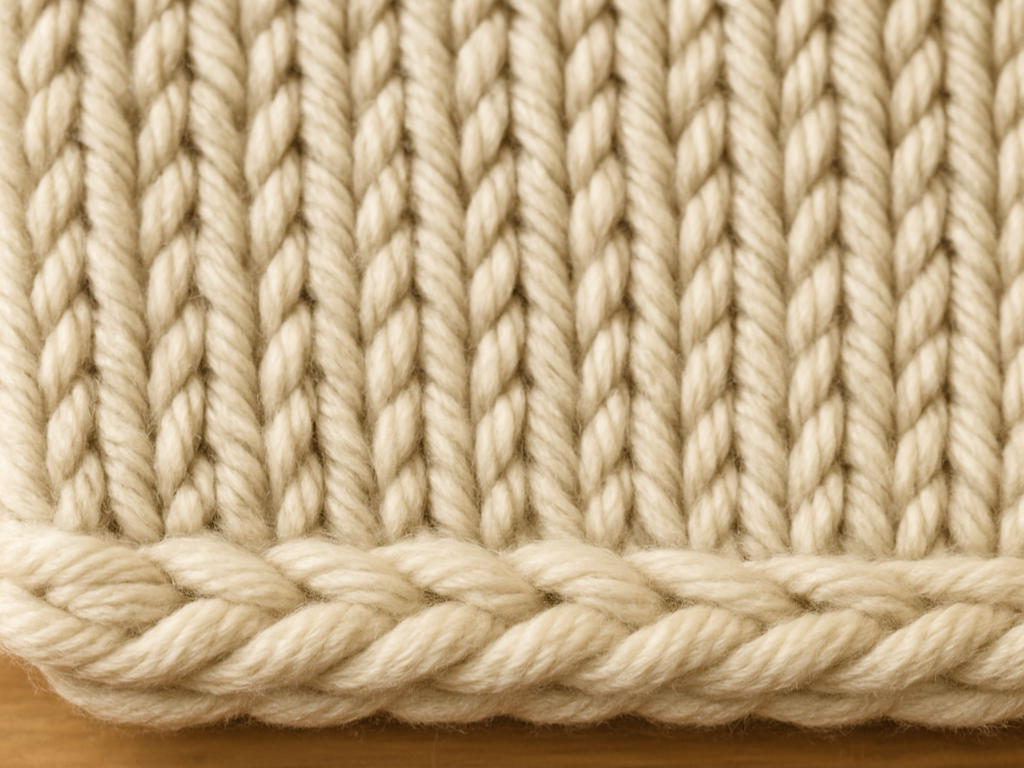
Neat Bind-Offs – 5 Methods Compared

Luckily, there are many techniques to choose from, depending on whether you need stretch, invisibility, or decorative flair. Here are 5 popular bind-off methods with step-by-step instructions, pros, and cons.
1. Classic Bind-Off
How to do it:
-
Knit 2 stitches.
-
Use the left needle to lift the first stitch over the second and drop it off.
-
Knit 1 more stitch.
-
Again, lift the previous stitch over the new one.
-
Repeat until all stitches are bound off.
-
✅ Pro: Easy, quick, beginner-friendly
-
❌ Con: Not stretchy, can be too tight for cuffs
👉 Best for scarves, blankets, and edges that don't need elasticity.
2. Stretchy Bind-Off
(e.g. Jeny's Surprisingly Stretchy Bind-Off)
How to do it:
-
Knit 1 stitch. Make a reverse yarn over (bring yarn over the right needle from back to front).
-
Knit the next stitch.
-
Pass the yarn over loop over the new stitch.
-
Then pass the previous stitch over as well.
-
Repeat with a new reverse yarn over each time.
-
✅ Pro: Very stretchy, perfect for sock cuffs and sleeves
-
❌ Con: Can look a bit wavy, needs some practice
👉 Great for projects that need flexibility and comfort.
3. Italian Bind-Off 🇮🇹
(Kitchener Stitch for 1x1 Rib)
How to do it:
-
Do not bind off on the needles. Instead, use a blunt tapestry needle and yarn tail.
-
Sew through each stitch in the order it appears: sew as if to knit through knit stitches, sew as if to purl through purl stitches.
-
Alternate knits and purls until all stitches are sewn together.
-
✅ Pro: Invisible finish, stretchy, blends seamlessly into ribbing
-
❌ Con: Time-consuming, requires focus
👉 Perfect for ribbed cuffs, collars, and hems that need a polished look.
4. I-Cord Bind-Off
How to do it:
-
Cast on 3 extra stitches at the beginning of the bind-off row.
-
Knit 2, then knit 2 together (last I-cord stitch + next edge stitch).
-
Slip the 3 stitches back to the left needle.
-
Repeat until all stitches are bound off.
-
✅ Pro: Decorative, sturdy, forms a rounded edge
-
❌ Con: Takes longer, uses more yarn
👉 Great for blankets, shawls, or edges that should stand out.
5. Picot Bind-Off
How to do it:
-
Cast on 3 new stitches.
-
Bind off 2 stitches.
-
Knit 1 stitch, then cast on 3 more stitches.
-
Bind off 2 stitches again.
-
Repeat until the row is finished.
-
✅ Pro: Playful, decorative, eye-catching
-
❌ Con: Not stretchy, time-intensive
👉 Lovely for shawls, scarves, and projects that deserve a fancy edge.
📊 Quick Comparison
Classic: fast & simple, but tight
-
Stretchy: elastic, great for socks & sleeves
-
Italian: invisible & neat, but slow
-
I-Cord: decorative & sturdy, uses more yarn
-
Picot: fun & lacy, but not stretchy
💡 My Takeaway
There's no one perfect bind-off – only the right technique for the right project.
Personally, I use the stretchy bind-off most often for garments, the classic bind-off for simple accessories, and I love the picot bind-off when I want to give a shawl that extra "wow" finish ✨.
💬 What's your favorite bind-off method?
Share your tips and photos in our Facebook group – we'd love to see them!
#bindoff #strickenimtrend #maschenmitliebe #knittingtips #knittingtechniques
No matter which method you choose – a neat bind-off gives your knitwear the perfect frame and shows the love in every stitch.
See you soon,
Kathrin 💖🧶
Want to dive deeper into the world of stitches?
Explore my patterns, browse the blog, or join our community!
