
#FreeStitches: BabyAlpenChic – Free Knitting Pattern for a Baby Hat and Booties
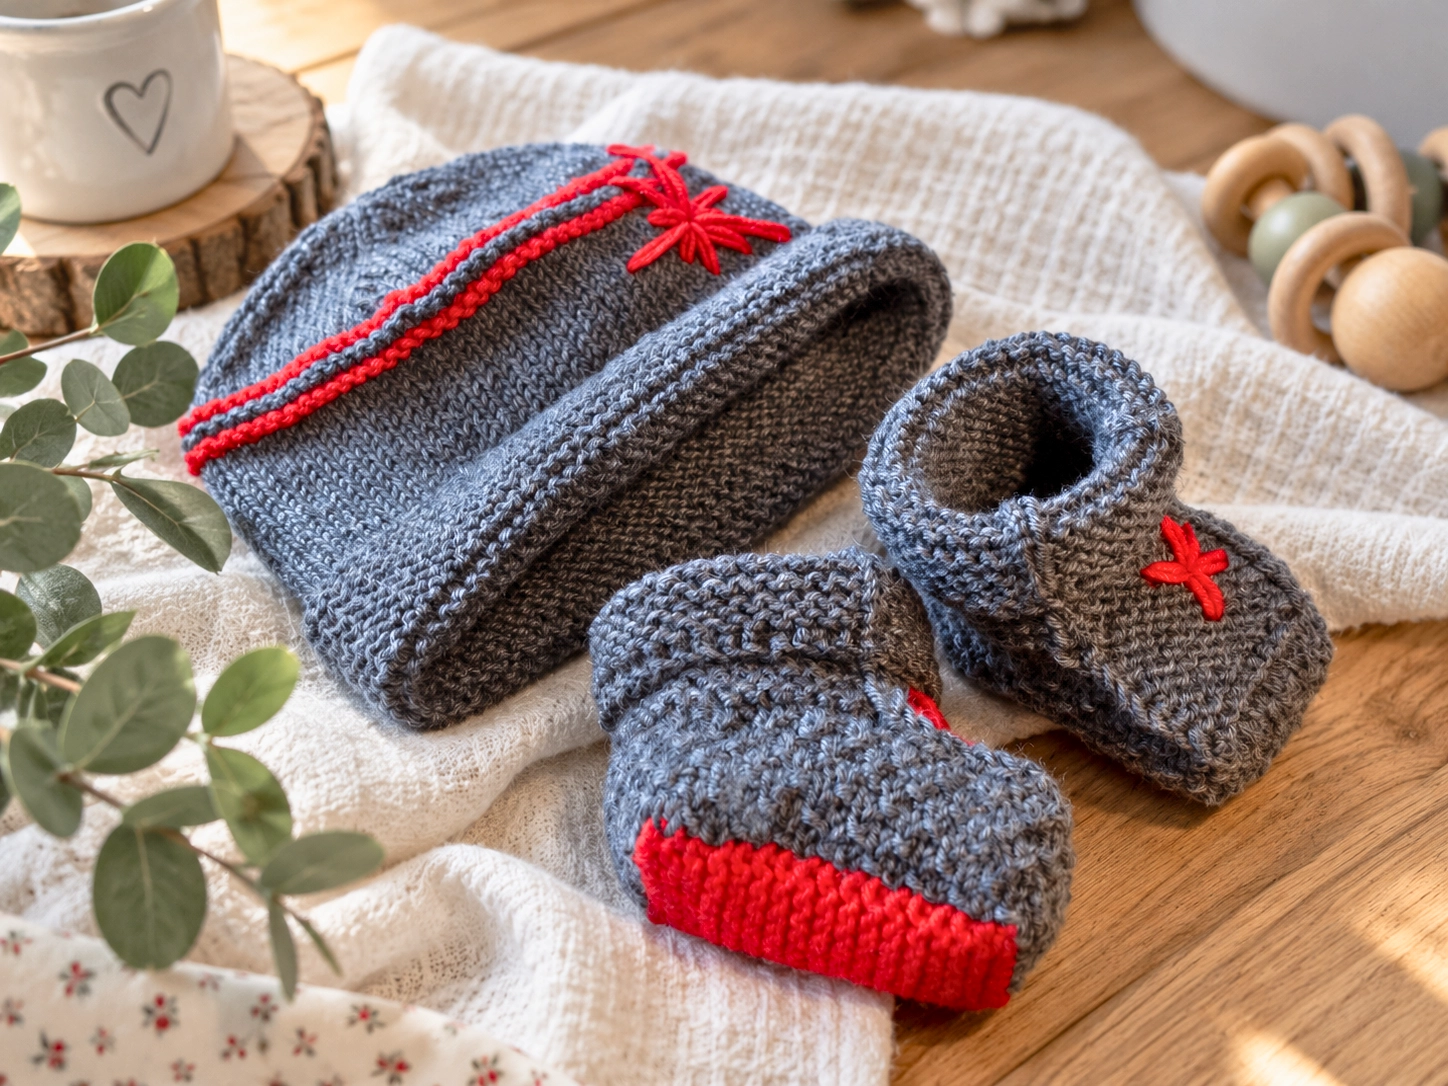
Tiny stitches, lots of Alpine charm.
With this free knitting pattern, you can knit a matching baby hat and booties in the BabyAlpenChic look. The set is designed for newborns in size 50–56 and makes a lovely addition to a first traditional outfit – or simply a cosy little set for the first cooler days.
O'zapft is – even for the littlest ones
When autumn arrives and the dirndls, traditional jackets and Alpine-inspired favourites come out of the wardrobe again, the littlest ones can join in too.
The baby hat and little booties have been part of the ParkaDesigns story for quite some time. In fact, the original pattern dates all the way back to 2015. So it was definitely time to bring this little set out of the archives.
Because some designs don't need to be reinvented.
Sometimes they simply need to be rediscovered.
The original set is knitted in grey and red. Garter stitch, stocking stitch and a simple stripe pattern create the characteristic AlpenChic look without making the hat and booties overly fussy. The little embroidered details on the booties can be added entirely to your own taste.
And best of all: you'll find the complete knitting pattern here for free.
[IMAGE – baby wearing hat and booties / hero image]
BabyAlpenChic – traditional, but never old-fashioned
For me, traditional clothing isn't something that belongs only at Oktoberfest or the Wiesn. I especially like traditional elements when they can be combined with modern designs and worn beyond traditional dress.
That idea has gradually grown into my AlpenChic collection: knitting and crochet designs for babies, children and adults that look beautiful with a dirndl but certainly aren't limited to it.
This little baby set is a perfect example. Grey and red give it its characteristic AlpenChic look, but choose different colours and you can easily turn it into a simple everyday baby set.
Perhaps you prefer classic natural shades, your own favourite colours or colours to match a little jacket you have already knitted.
The colour choice is entirely up to you.

What you'll need for the baby hat and booties
The original set was knitted using Lana Grossa Merino Superfein.
Original colours:
- Grey – shade no. 412
- Red – shade no. 417
You will also need 3.0 mm double-pointed needles, a tapestry needle for weaving in the ends and, if you would like to decorate your booties, a small amount of yarn for the embroidery.
Size: 50–56 / Newborn
Tension
24 sts × 34 rows = 10 × 10 cm
If you use a different yarn, make sure to check your tension. You don't need to use exactly the same yarn as I did for the original. What matters is choosing a yarn and needle combination that gives you approximately the same tension.
Stitch patterns used
Before we get started, here are all the stitch patterns you'll need for the hat and booties.
Pattern A – Garter stitch in the round
Round 1: knit all sts
Round 2: purl all sts
Repeat these two rounds throughout.
Pattern B – Stocking stitch in the round
Knit all sts.
Pattern C – Stripe pattern
2 rounds in red
2 rounds in grey
2 rounds in red
Work the stripe pattern in garter stitch in the round.
Pattern D – Garter stitch worked flat
Knit every row.
Pattern E
Round 1: k1, p1, repeat throughout
Round 2: knit all sts
Round 3: p1, k1, repeat throughout
Round 4: knit all sts
Repeat these four rounds throughout.
Free Knitting Pattern: BabyAlpenChic Hat
Using 3.0 mm double-pointed needles and grey yarn, cast on 84 sts. Distribute the stitches evenly across the needles and join to work in the round.
First work 6 cm in Pattern A. This section will later form the folded brim of the hat.
Then work another 6 cm in Pattern B.
Next, work the 6 rounds of Pattern C:
2 rounds in red,
2 rounds in grey,
2 rounds in red.
After completing the stripe pattern, work 1 round in Pattern B in grey.
Now begin shaping the crown.
Crown decreases
For the first decrease round, work:
*k10, ssk*, repeat from * to * around.
Then work 1 round in knit stitches without decreasing.
Continue working the decreases every second round, positioning each decrease directly above the previous one, until only 8 sts remain.
Cut the working yarn, leaving a sufficiently long tail. Thread it through the remaining 8 stitches and pull firmly to close the top of the hat.
Weave in all ends carefully.
Finally, fold the brim outwards and secure it at the back with a few stitches.
Your little BabyAlpenChic hat is finished.
Free Knitting Pattern: BabyAlpenChic Booties
The little booties are worked from the sole upwards.
First, the sole is knitted flat. Stitches are then picked up all around it and the bootie is continued in the round. When shaping the instep, we switch back to working flat.
Once you understand the construction, it's much easier than it may sound at first.
1. Knit the sole
Using red yarn, cast on 12 sts.
Work 32 rows in Pattern D – garter stitch.
This gives you a total of 16 garter ridges.
Change to grey.
2. Pick up stitches around the sole
Now you'll pick up stitches around the knitted sole to create the body of the bootie.
First, knit across the 12 existing stitches.
Pick up 16 sts along the first long edge.
Pick up 10 sts along the cast-on edge.
Then pick up another 16 sts along the second long edge.
You should now have:
12 + 16 + 10 + 16 = 54 sts
distributed across your double-pointed needles.
From here, continue working in the round.
Work 3 cm in Pattern E over all 54 stitches.
3. Shape the instep
Now the bootie begins to take its actual shape.
Up to this point, you have been working all the stitches in the round. To shape the instep, you will now work back and forth in rows over only the 10 centre front stitches.
At the end of each row, one instep stitch is worked together with one stitch from the adjoining side section.
This gradually decreases the side stitches while shaping the top of the bootie.
Work the instep as follows:
Across the centre front stitches, knit:
k9, ssk.
The two stitches worked together are the final stitch of the instep and the first stitch from the adjoining side section.
Turn your work.
Slip the first stitch purlwise, knit 8 sts, then p2tog. Again, the final instep stitch is worked together with the next stitch from the side section.
Turn your work again.
Slip the first stitch knitwise, knit 8 sts, then work the final instep stitch together with the next stitch from the side section.
Continue in this manner, working back and forth across the 10 instep stitches and joining the final instep stitch to the next side stitch at the end of each row.
As you continue, the number of side stitches gradually decreases and the instep closes over the top of the foot.
Repeat these rows until 8 sts remain on each side section, from the original 16 stitches on each side.
4. Finish the bootie
Once the instep has been shaped, continue working in the round over all stitches again.
First work 1 round in knit stitches.
Then work 5 cm in Pattern A – garter stitch in the round.
Cast off all stitches loosely.
Make sure your cast-off edge is nice and stretchy so the bootie remains easy to put on.
Weave in all ends carefully.
Work the second bootie in exactly the same way.

Now add your own AlpenChic
I added small red embroidered details to my original booties.
There is deliberately no fixed design for the embroidery.
You could embroider tiny flowers, hearts or another motif of your choice. Perhaps you only want to add a few small touches of colour – or you can leave the embroidery off altogether.
Grey and red aren't compulsory either.
A little baby set like this is perfect for playing with colour: match it to a traditional outfit, coordinate it with a jacket you have already knitted or simply choose the colours you love most.
And just like that, my original BabyAlpenChic pattern becomes your own little AlpenChic creation.
A little AlpenChic from the archives
I particularly love the fact that this pattern is making another appearance today.

The original dates back to 2015. Since then, many new patterns have been created, others have been revised and some designs have gradually moved a little further back into the archives.
That's exactly why I'm enjoying looking through my own archives again at the moment.
Because not everything that is older needs to be retired.
Sometimes all it needs is a new photograph, a little attention – and suddenly it's back.
For me, BabyAlpenChic is exactly one of those designs.
More AlpenChic
The little hat and booties are, of course, not the only traditional designs at ParkaDesigns.
Over the years, they have grown into an entire AlpenChic family, with knitted and crocheted designs for babies, children and adults.
You may already know some of them. Others are currently getting a fresh new look.
And then there are a few brand-new AlpenChic designs already waiting to be let out into the wild. 😉

🍻 Happy knitting!
Perhaps this little set will become part of a baby's very first traditional outfit.
Or perhaps the hat and booties will simply be two cosy companions for the first cooler days.
And perhaps there's a small amount of beautiful merino yarn somewhere in your stash that has simply been waiting to become something useful.
Either way, I'm delighted to bring this little pattern back out of my archives after so many years.
#BabyAlpenChic #BabyKnittingPattern #KnittedBabyBooties #BabyHatKnittingPattern
If you knit your own BabyAlpenChic set, I'd love to see how it turns out. I always enjoy seeing what you create from my patterns. ❤️
With love,
Kathrin 🥨
Would you like to discover more from my world of stitches?
Discover my knitting & crochet patterns, browse the blog, find new ideas in Knitting & Crochet Inspiration or discover what others have made from my patterns in Stitches from Real Life.
More BabyAlpenChic
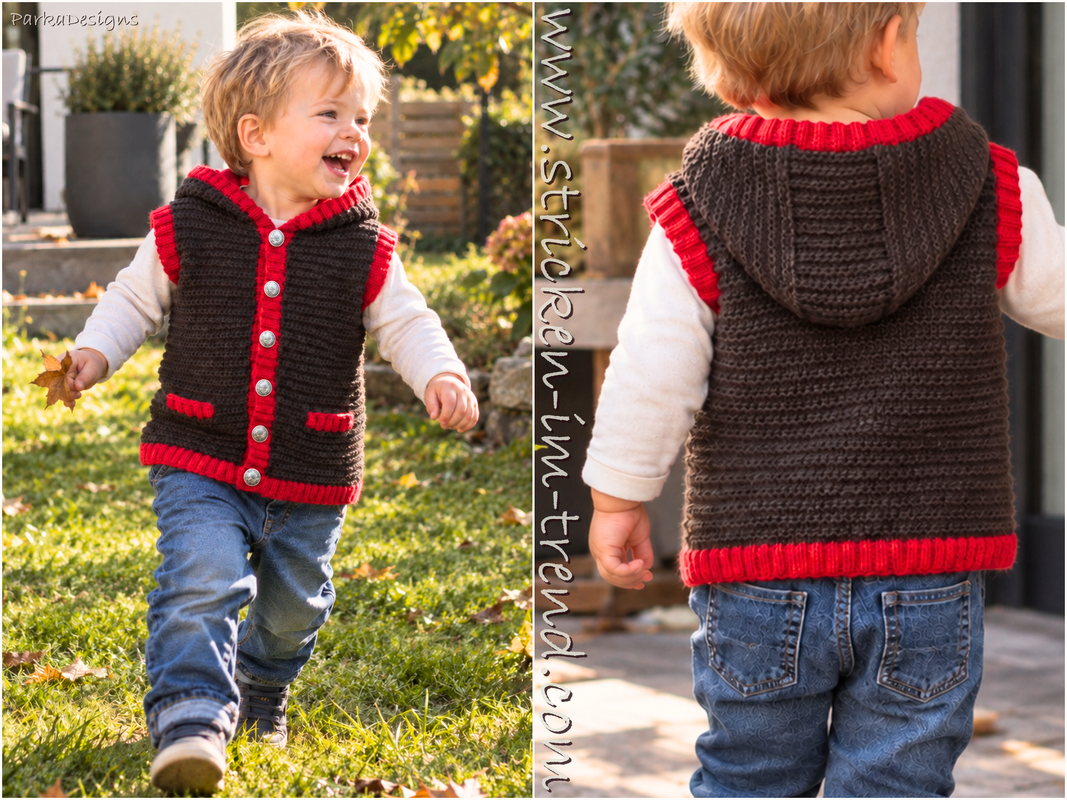
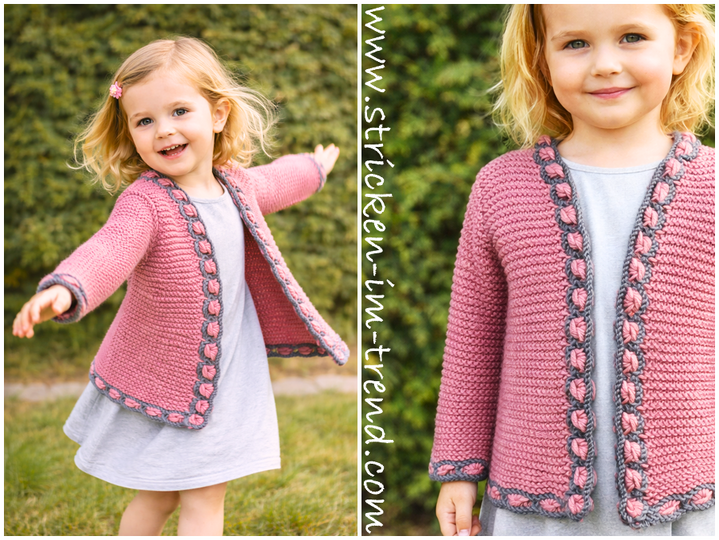
Fancy a little more knitting? Discover two more BabyAlpenChic patterns for little fans of traditional Alpine style.
Style knows no Size.
An initiative by Kathrin Parlatan | stricken-im-trend.com